Tri branch lamp.
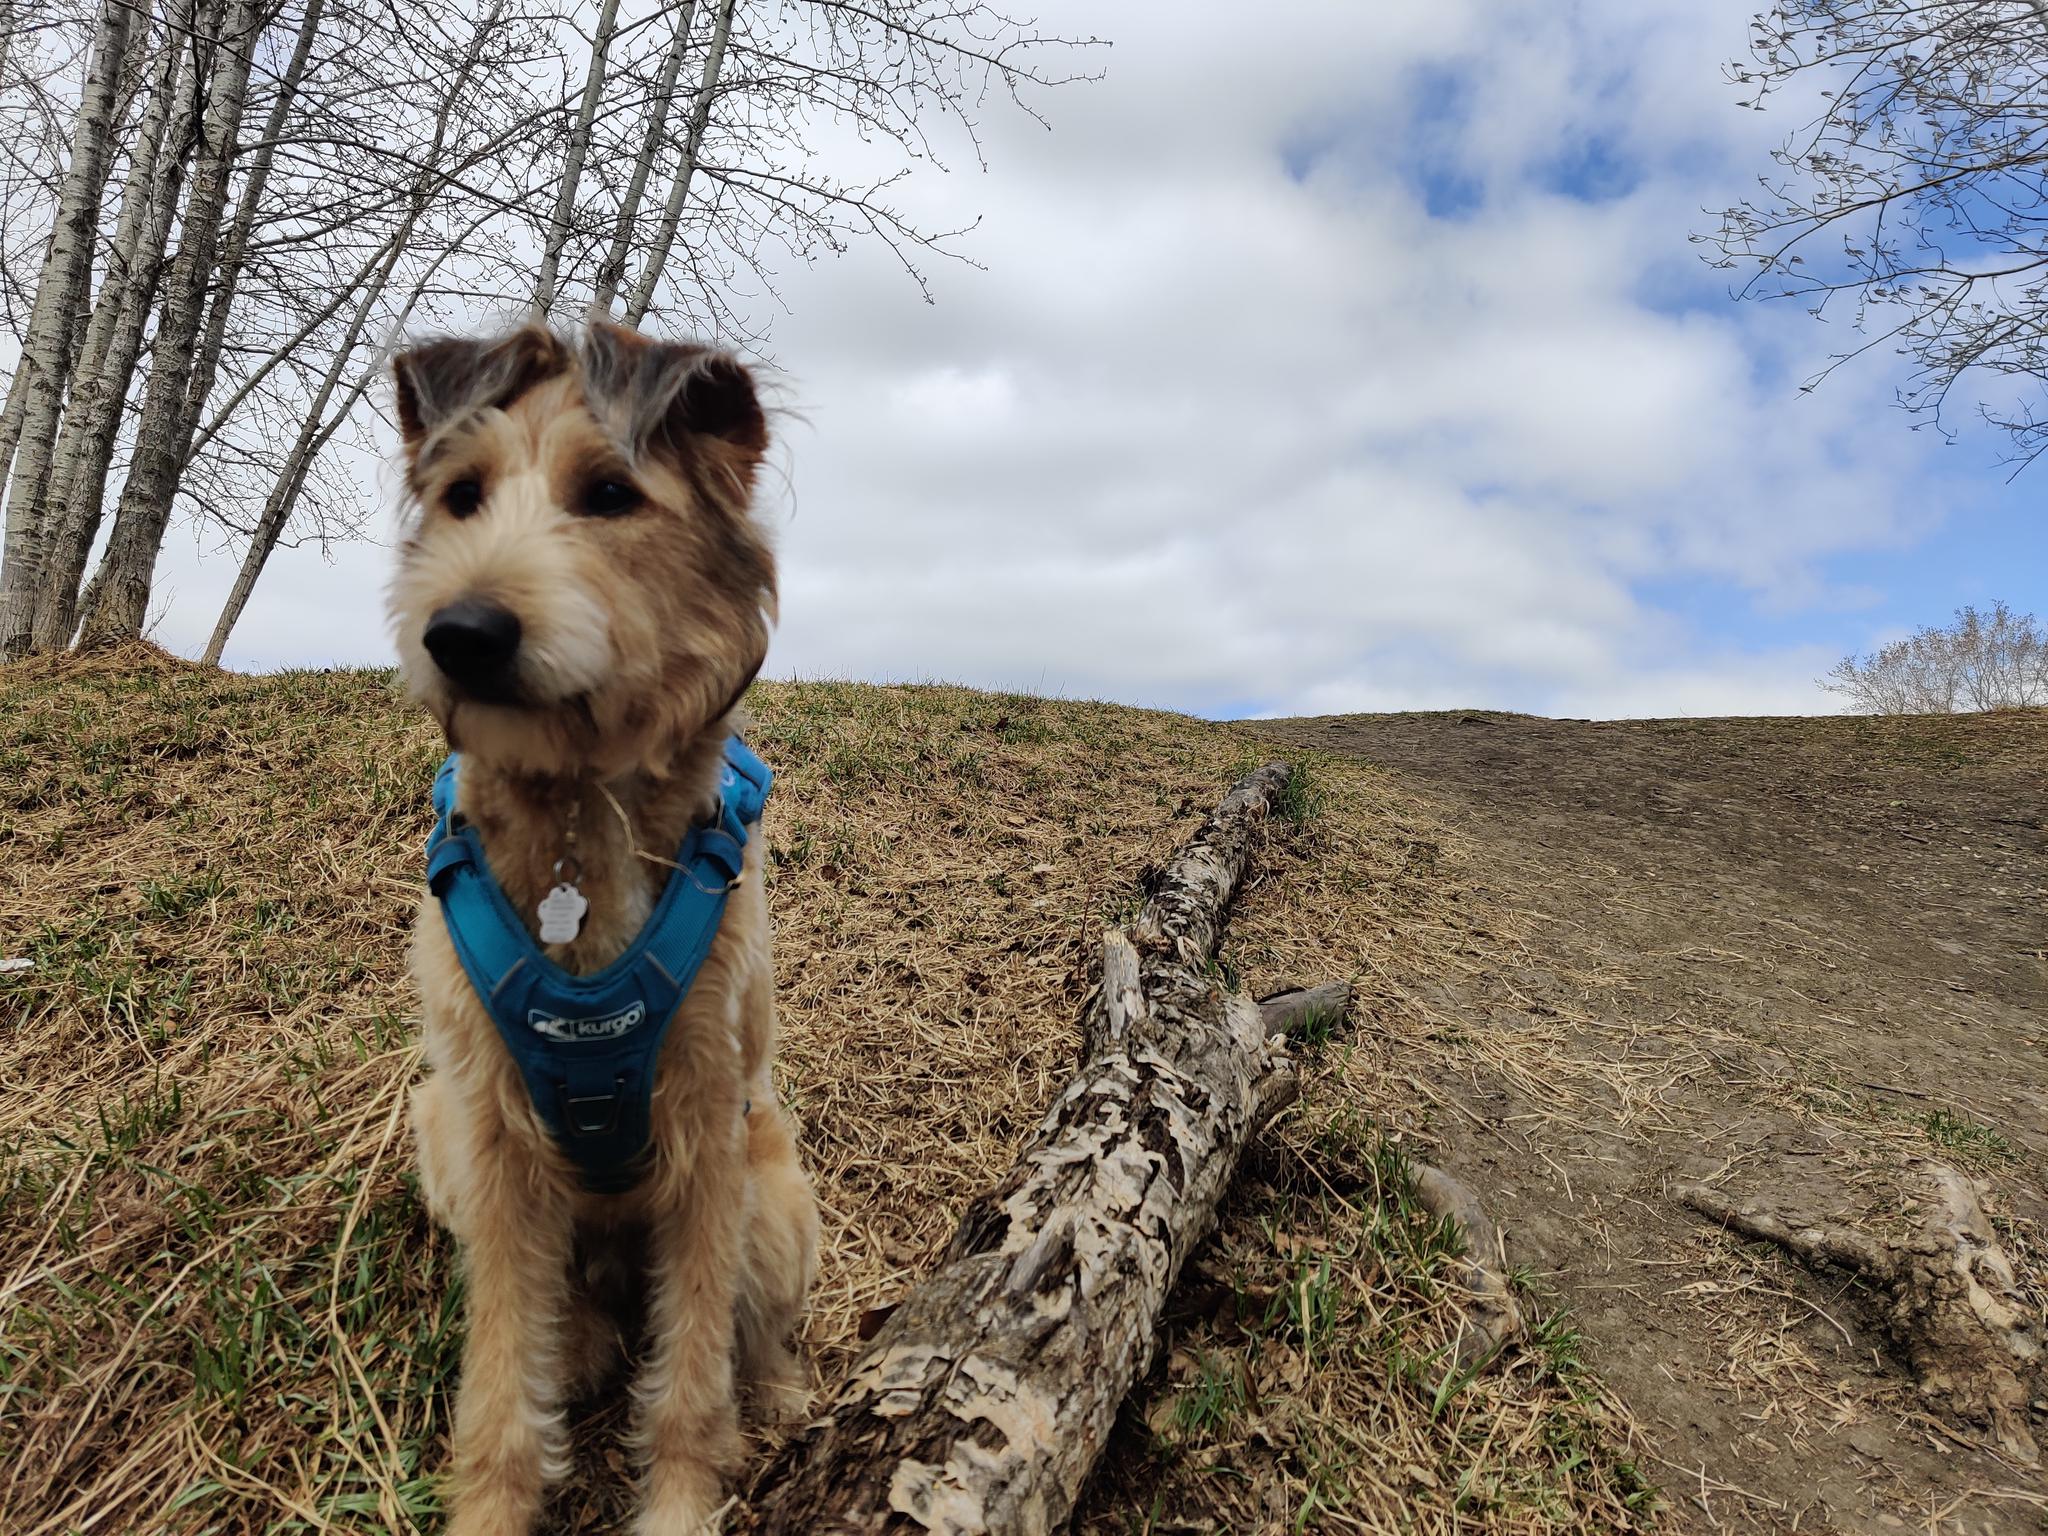
While the LED lamp was a challenge, it helped pave the way for a slightly broader lamp using 3 bulbs, now finding a deadfall branch with the correct number of limbs and shape was the challenge, thanks to the dog park I had a large amount of material to shift through.
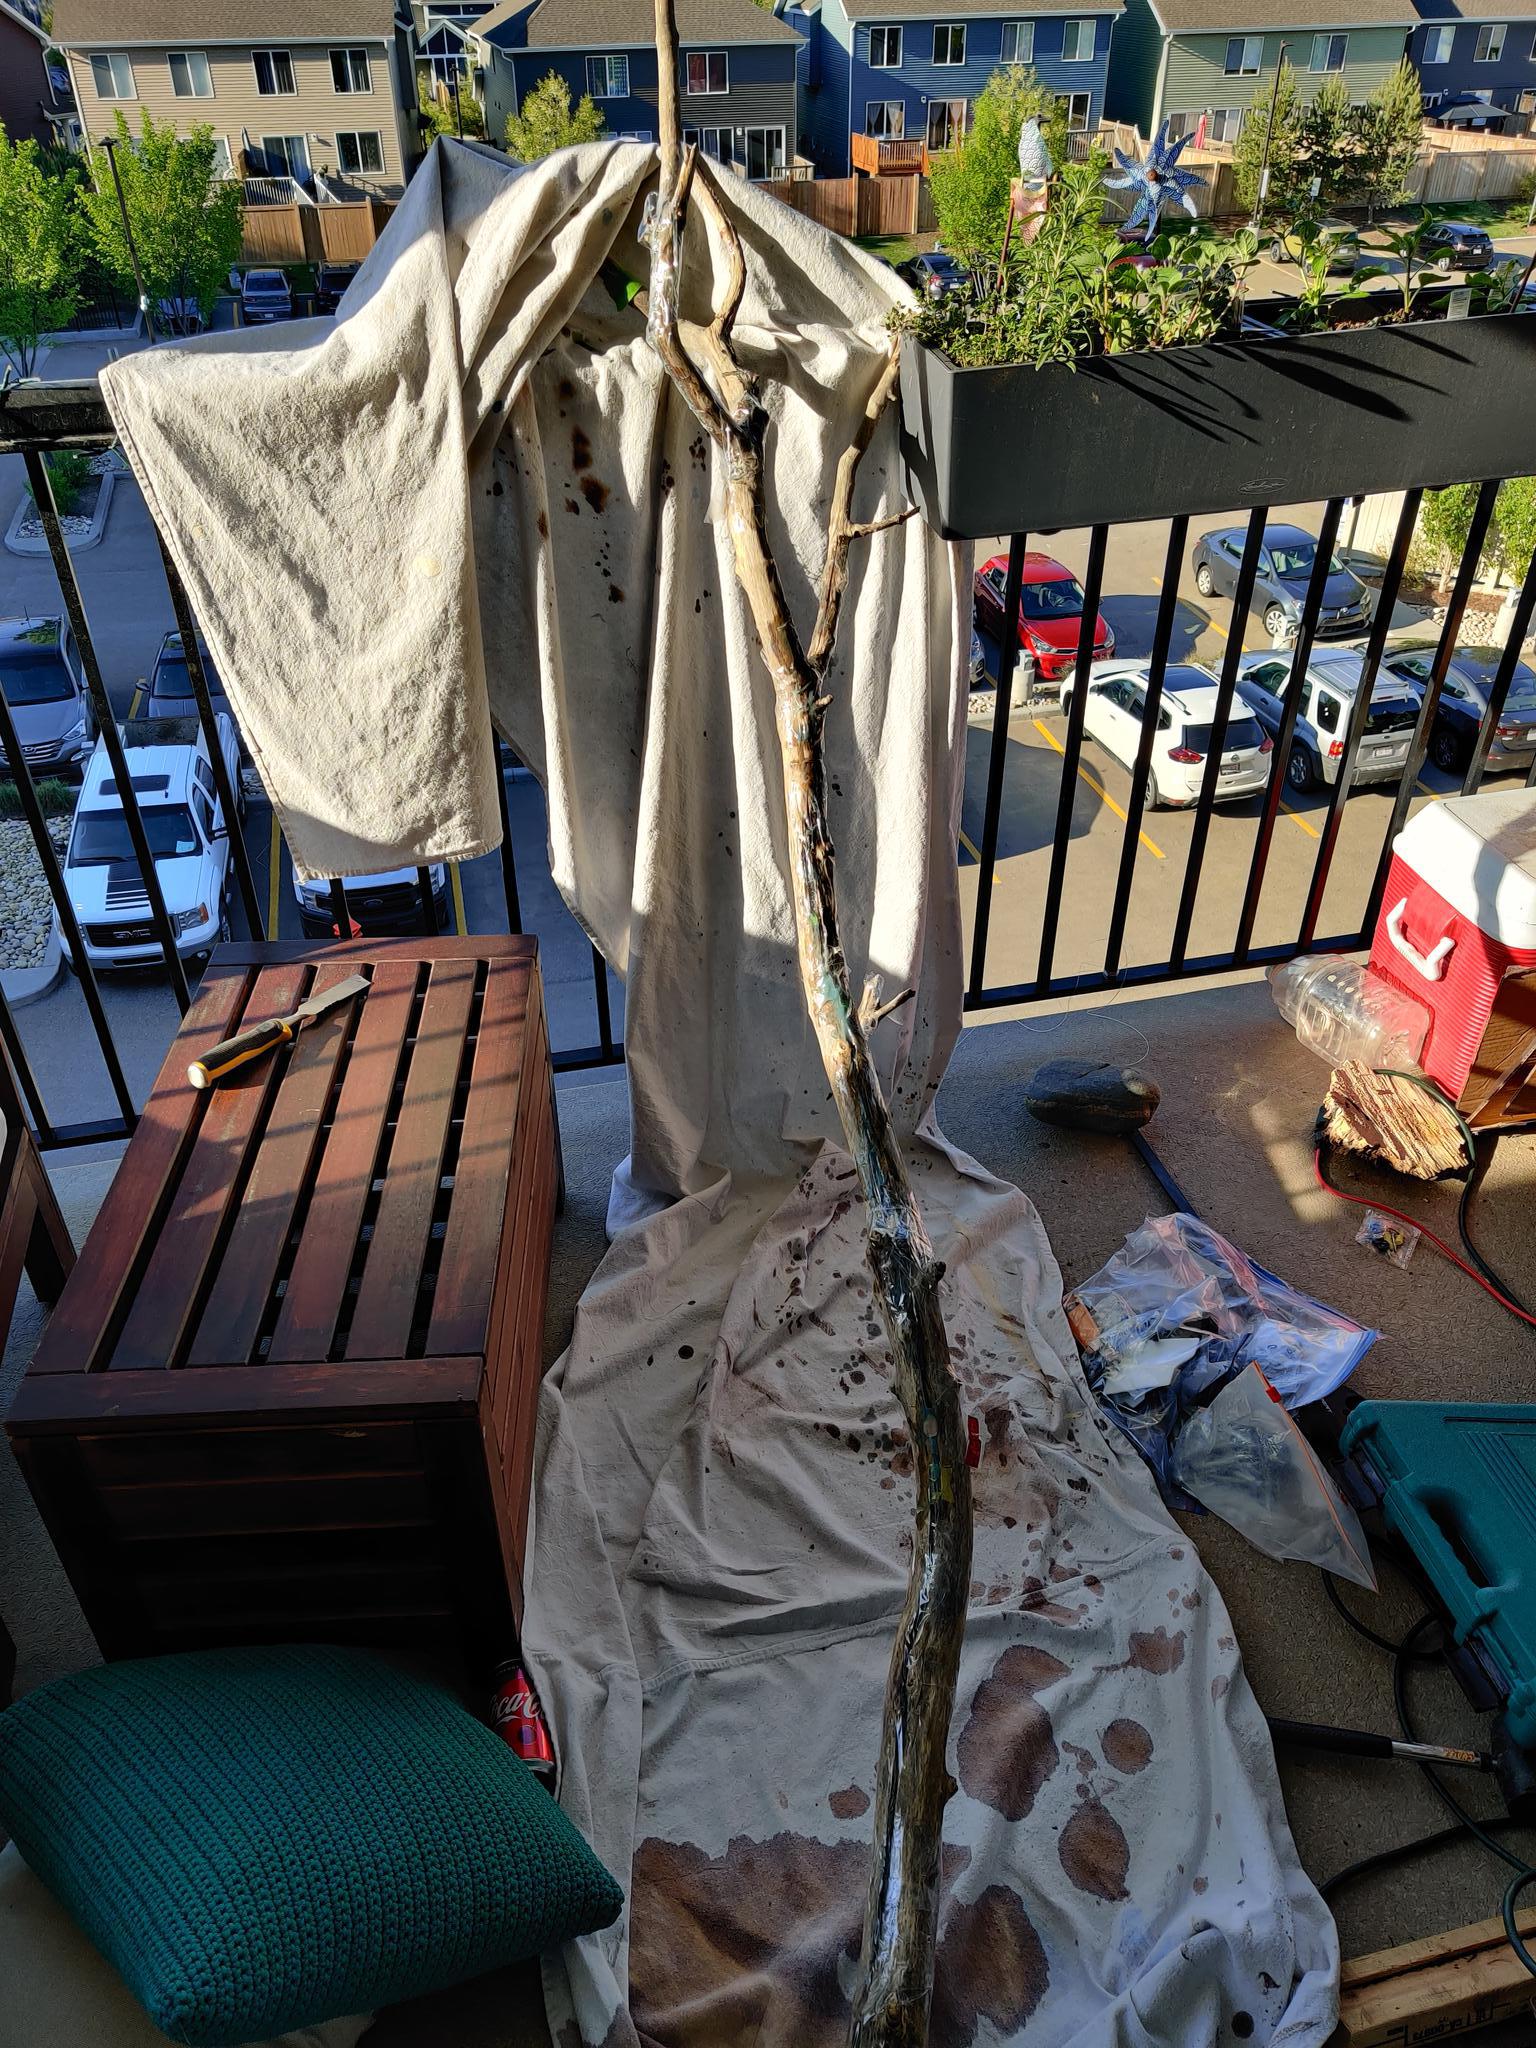
Once the branch was found (which took a few visits, not that Cooper minded the trips) it was back to drying, stabilizing (using acrylic dissolved in acetone) and weeding out the rot, dead leaves and odd softwood spots.
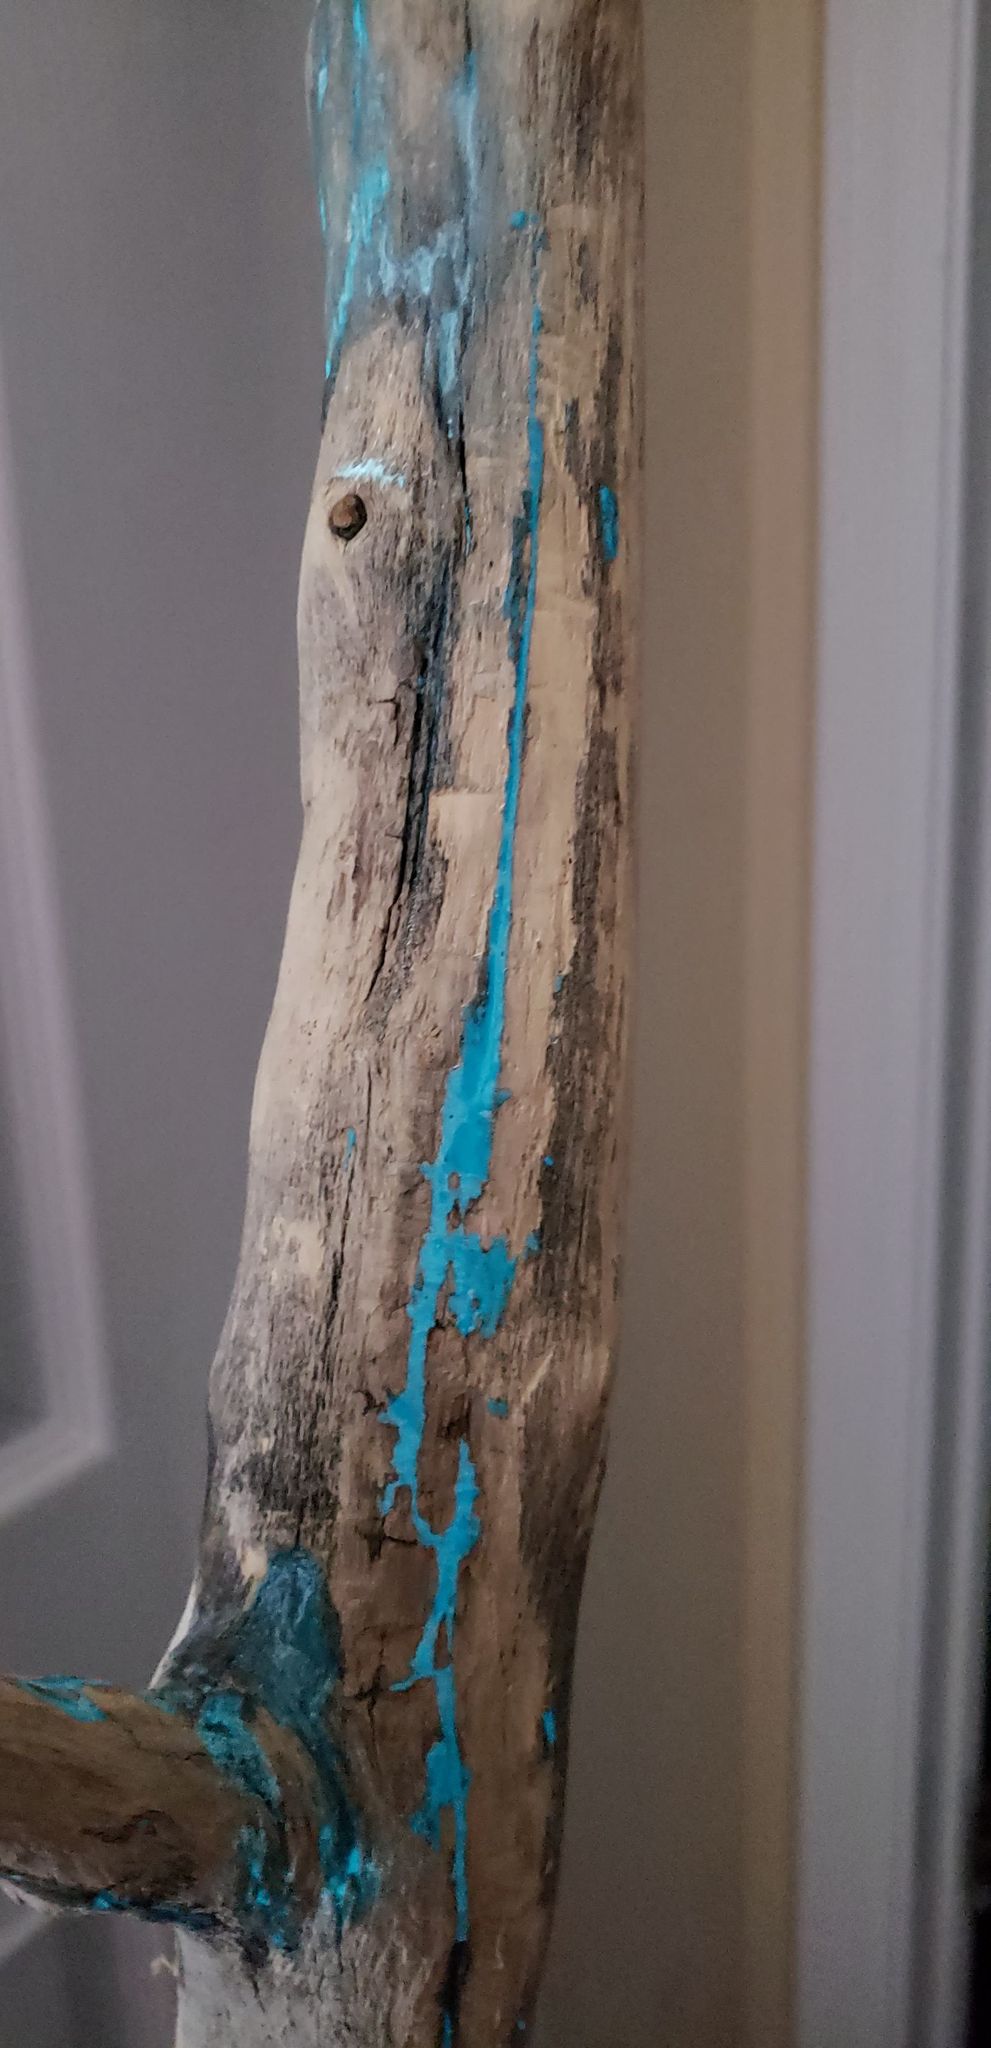
This left just the matter of cracks and voids to fill, now to do this I used a combination of epoxy and a UV glow in the dark pigment and some epoxy dye to fill the spaces, its a tedious process but necessary for stability.
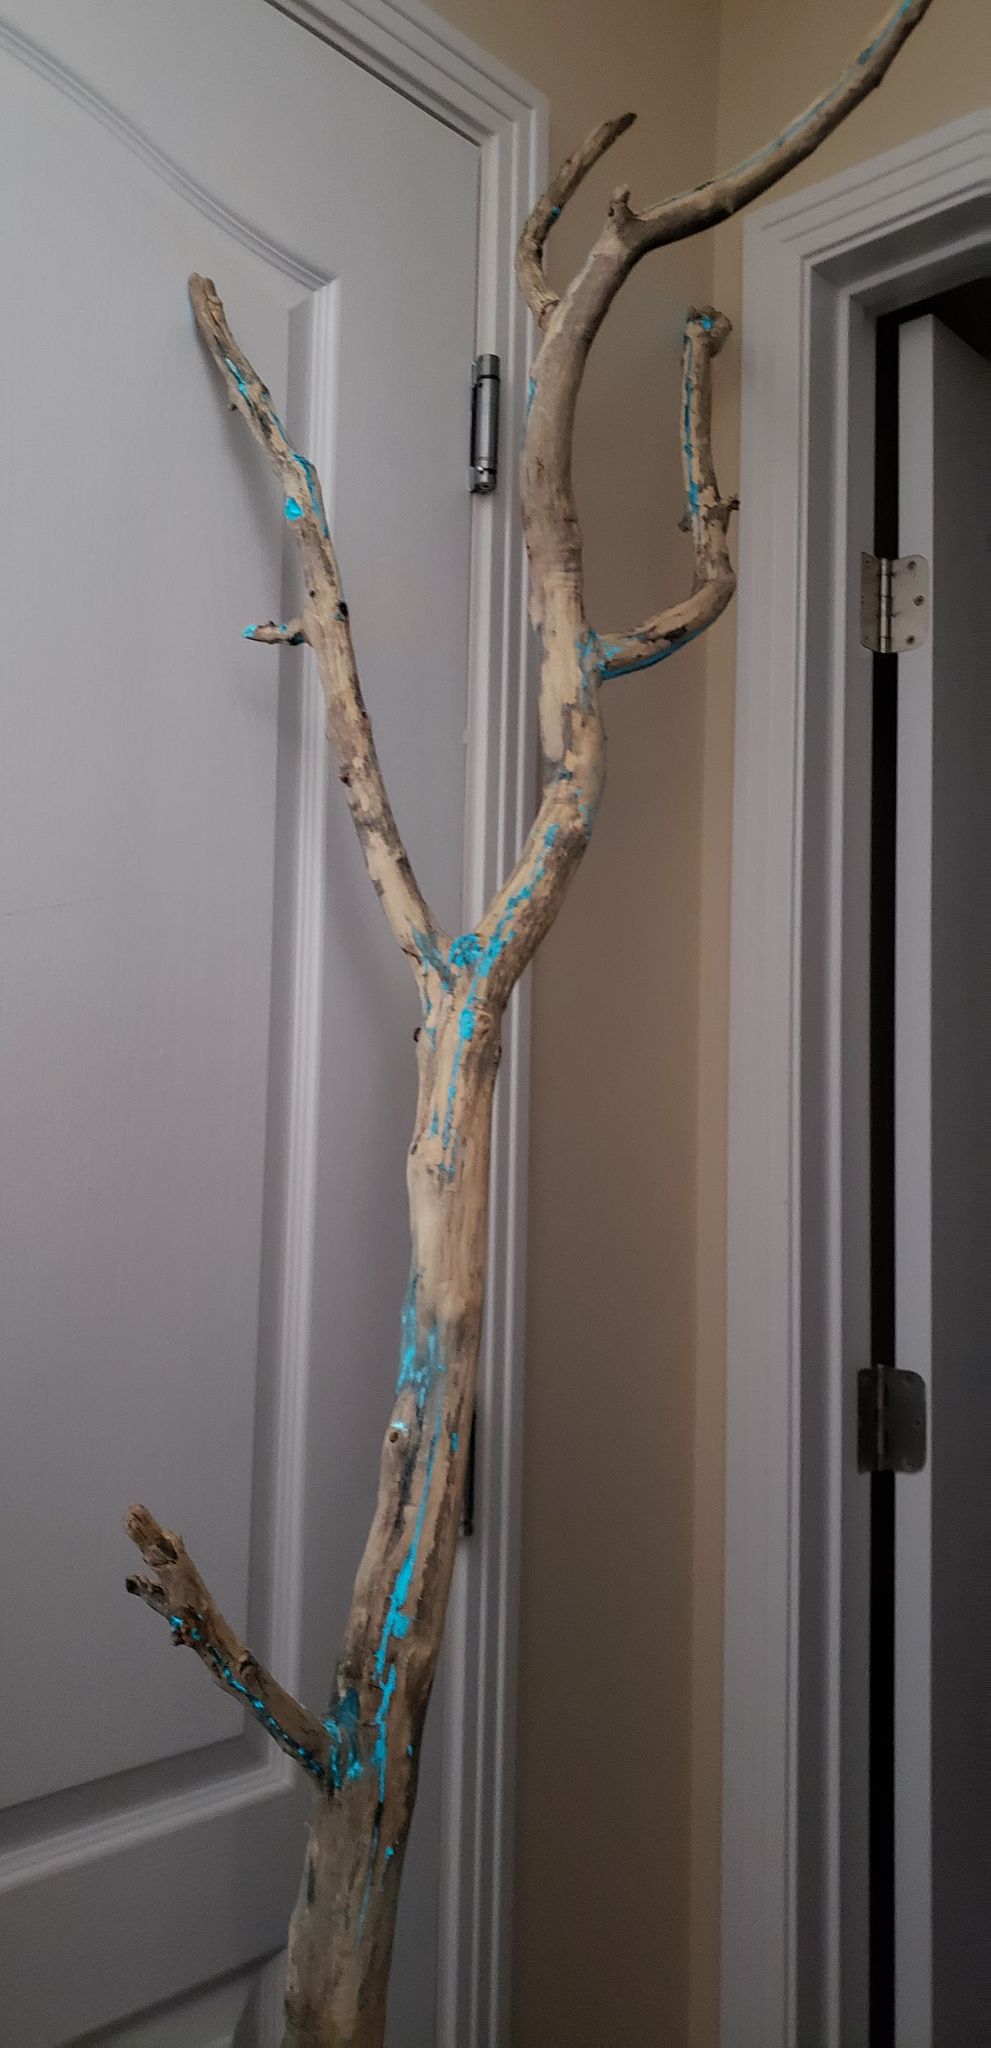
Once sanded and finished, applying wiring was a matter of dealing with the removal of the terrible plastic junctions and the wrapping of the exposed wires.
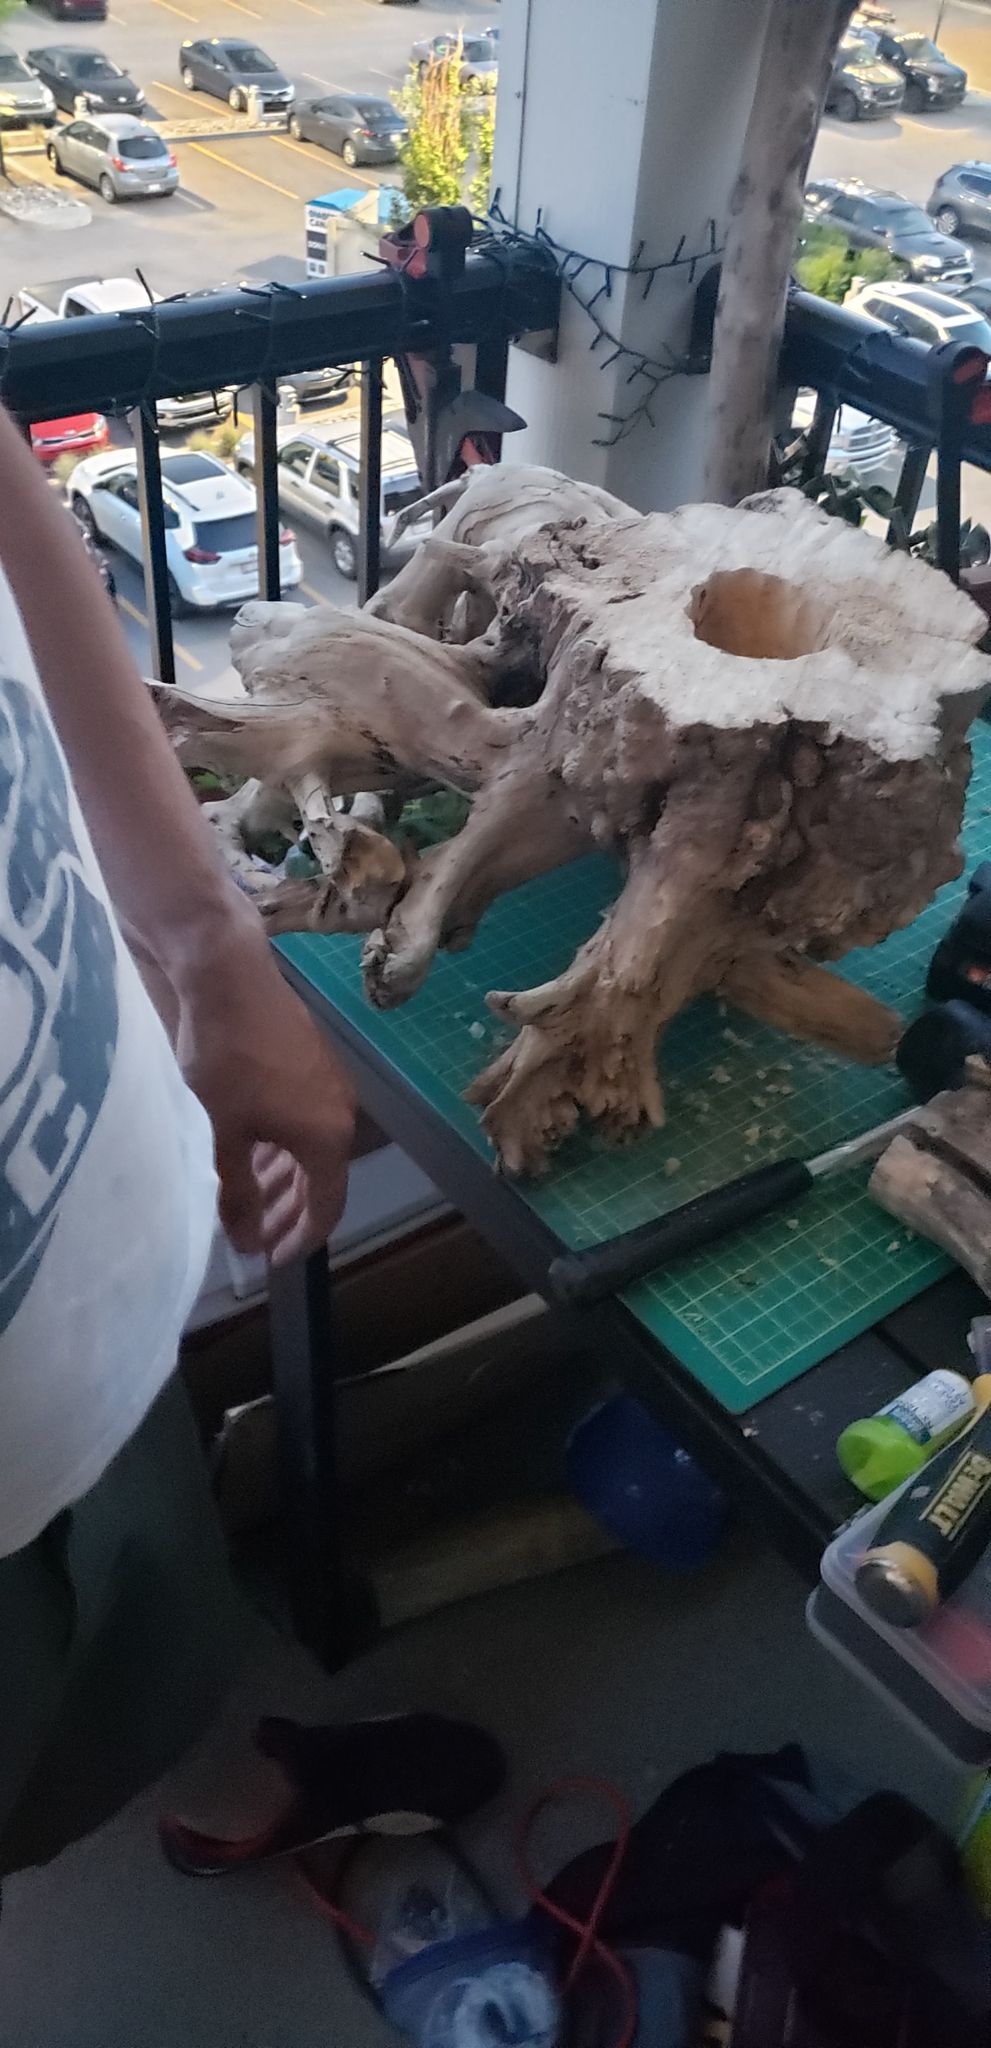
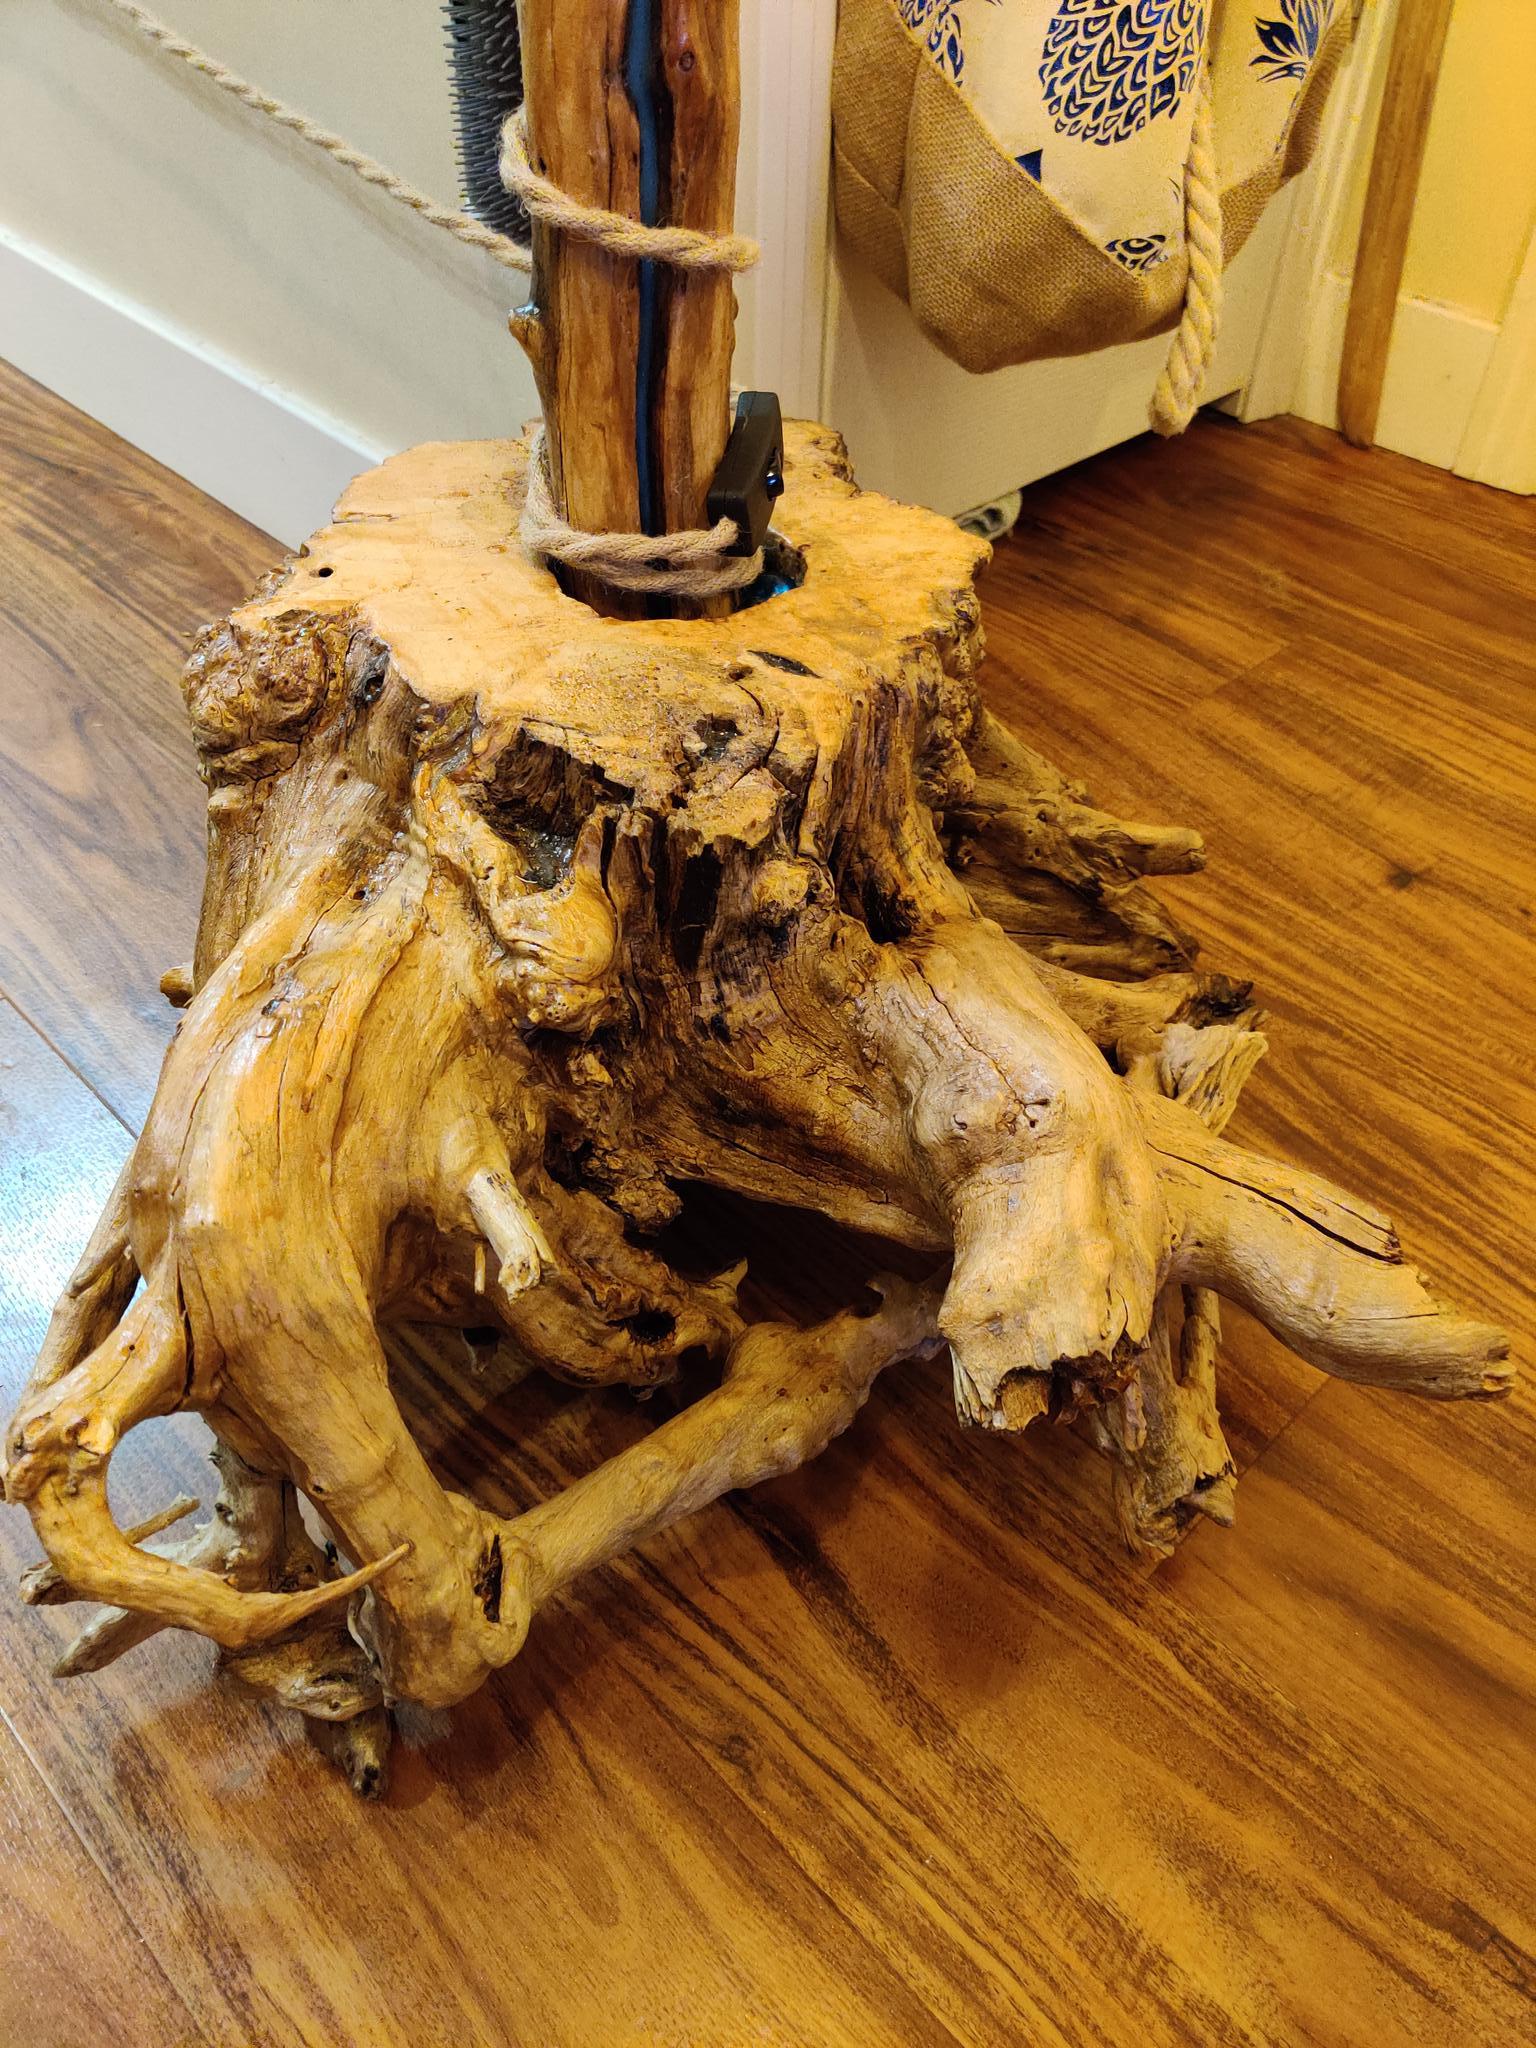
The final step was coming up with a stable base, thankfully the dog park provides and I found a fallen tree with an exposed base, once dug out and cut (with a swift trip to get power washed) it was dried and stabilised, then a hole made for the branch and set in place with resin and glass stones.
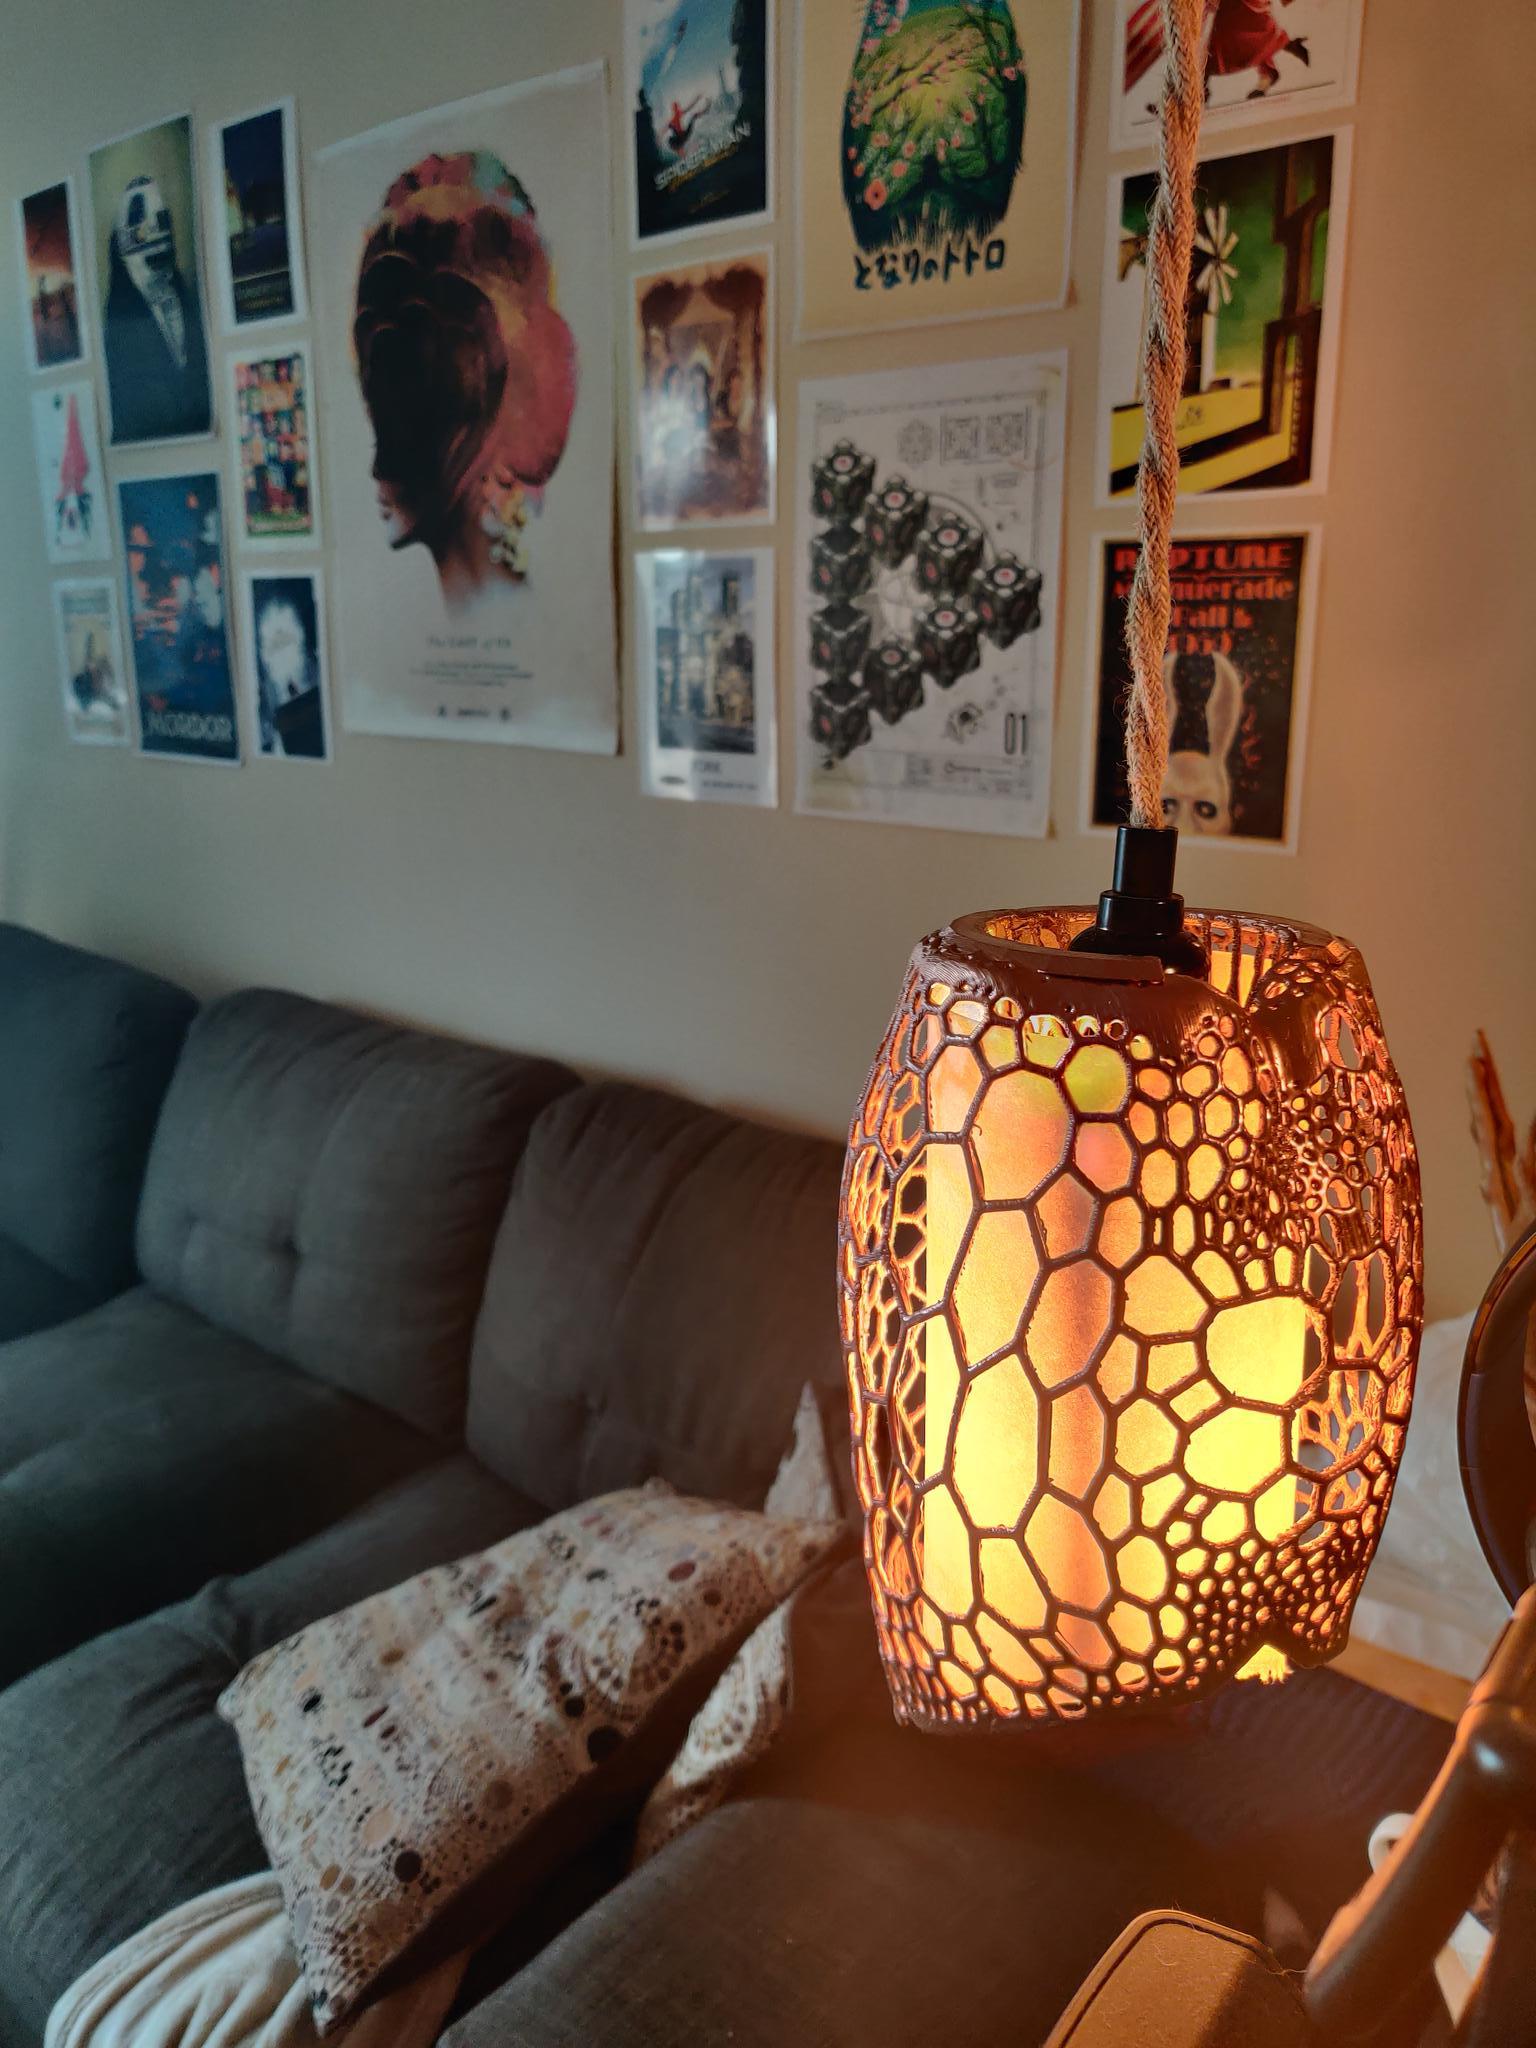
The hardest part of this was finding suitable shades, thankfully after finding a design on thingiverse and resizing it in Autodesk and slicing the print in half, I was able to get it printed thanks to EPL and virtual sessions to set up and print the shade.
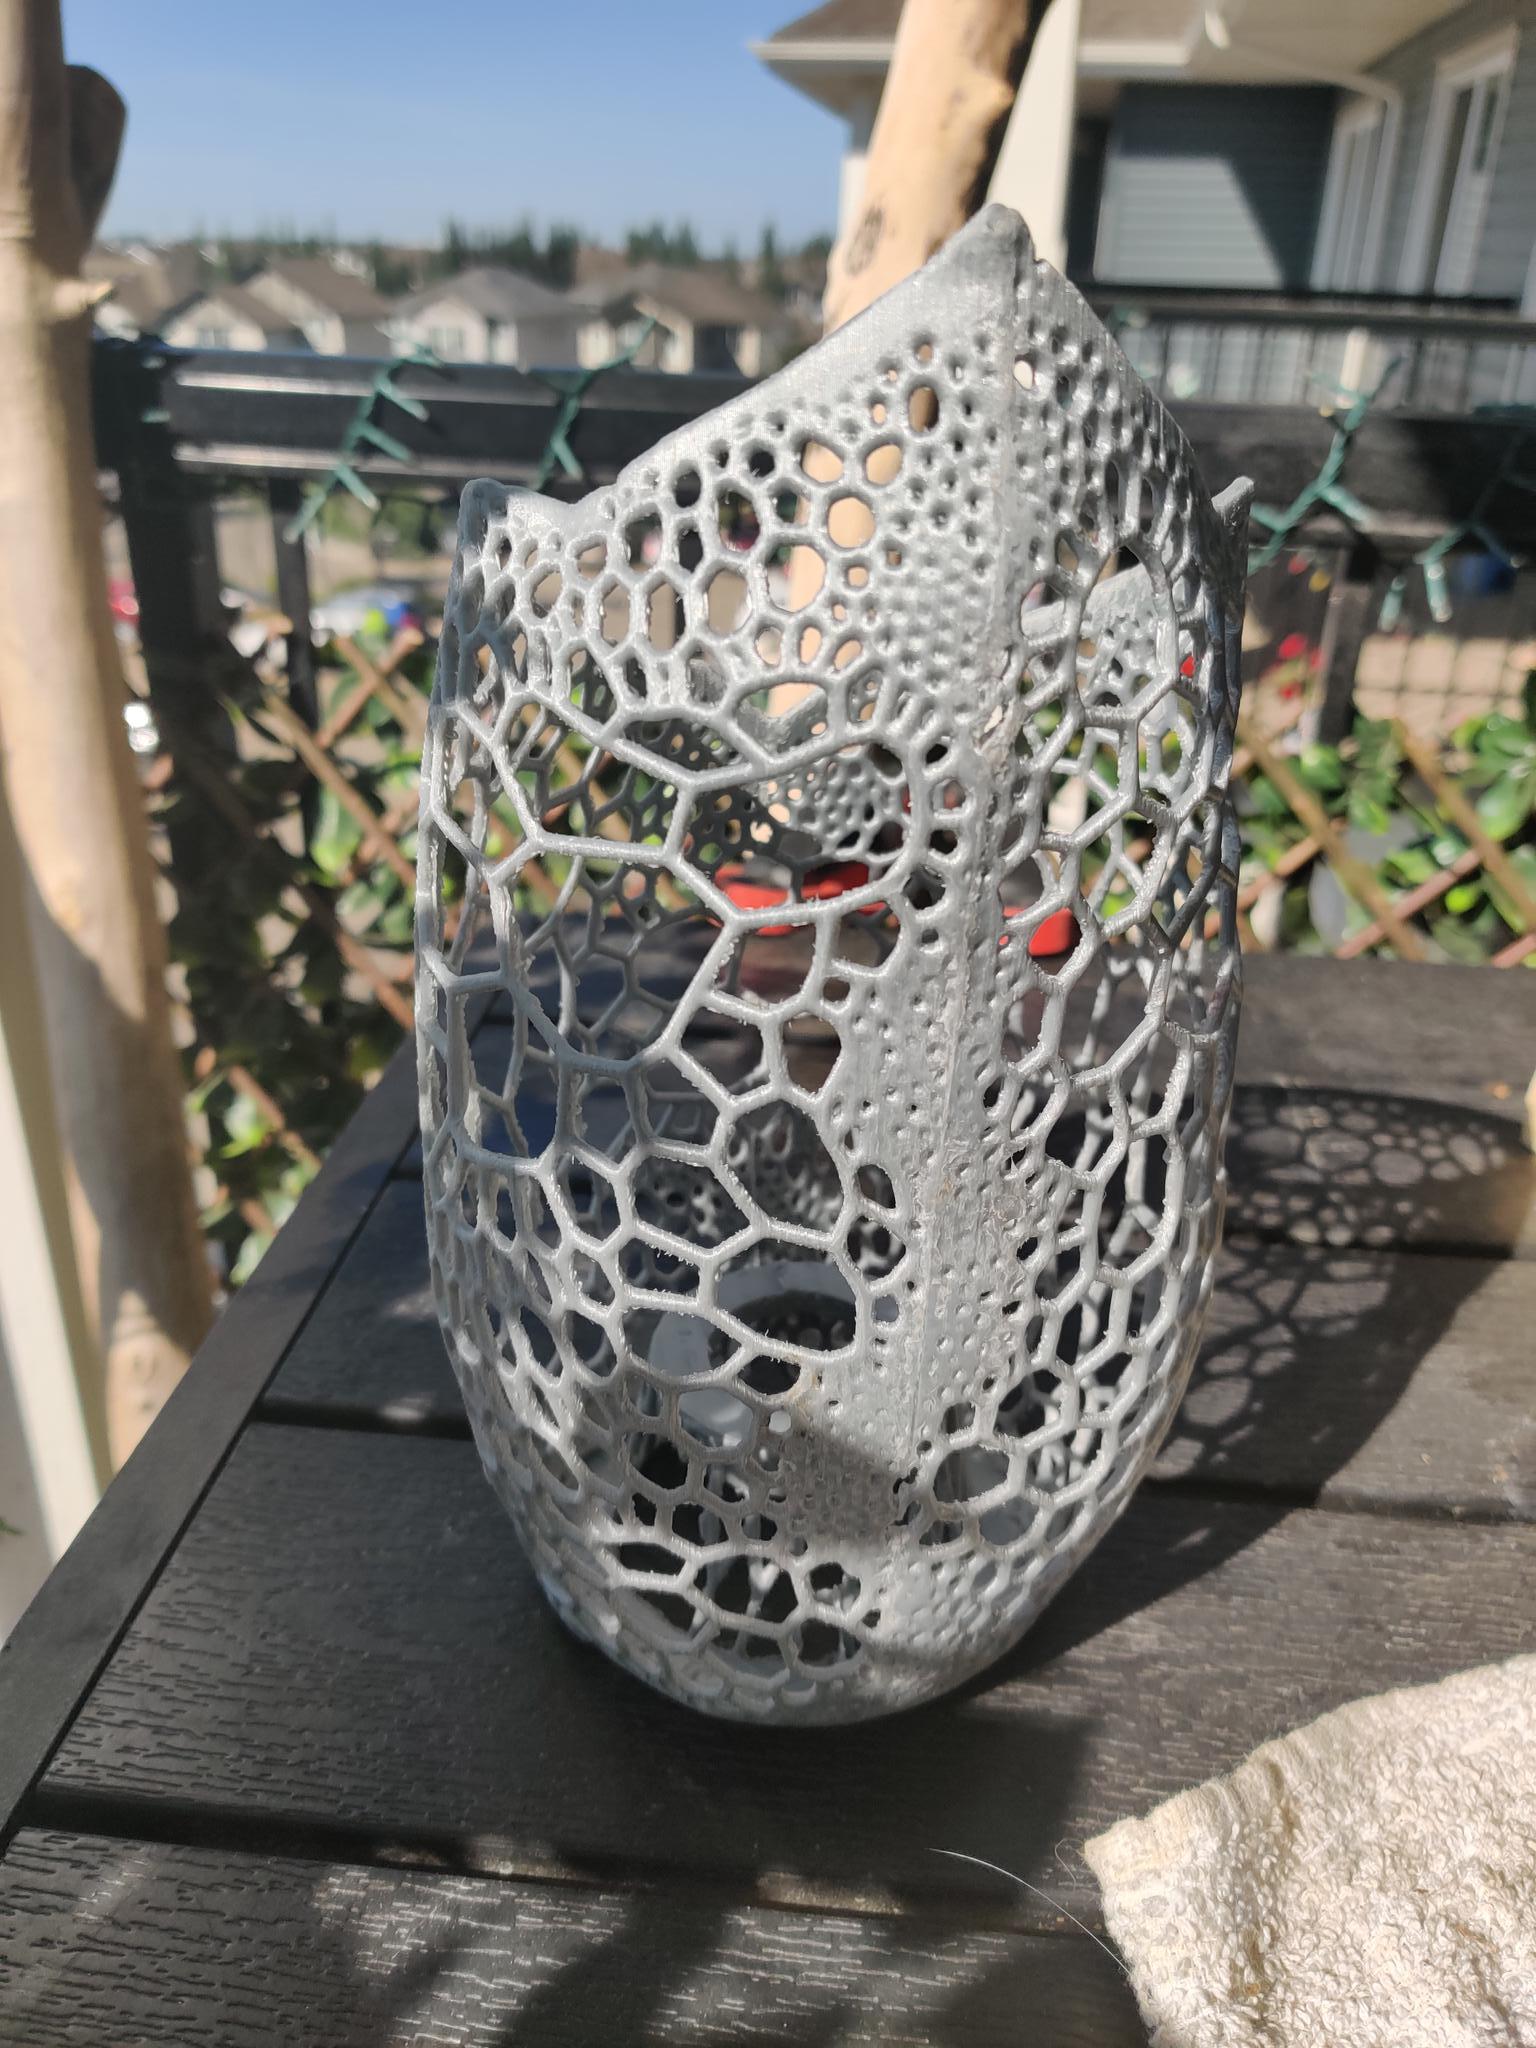
Once printed, it was a work of a few hours to plastic weld the halves together and then prime and paint using a metallic copper finish.
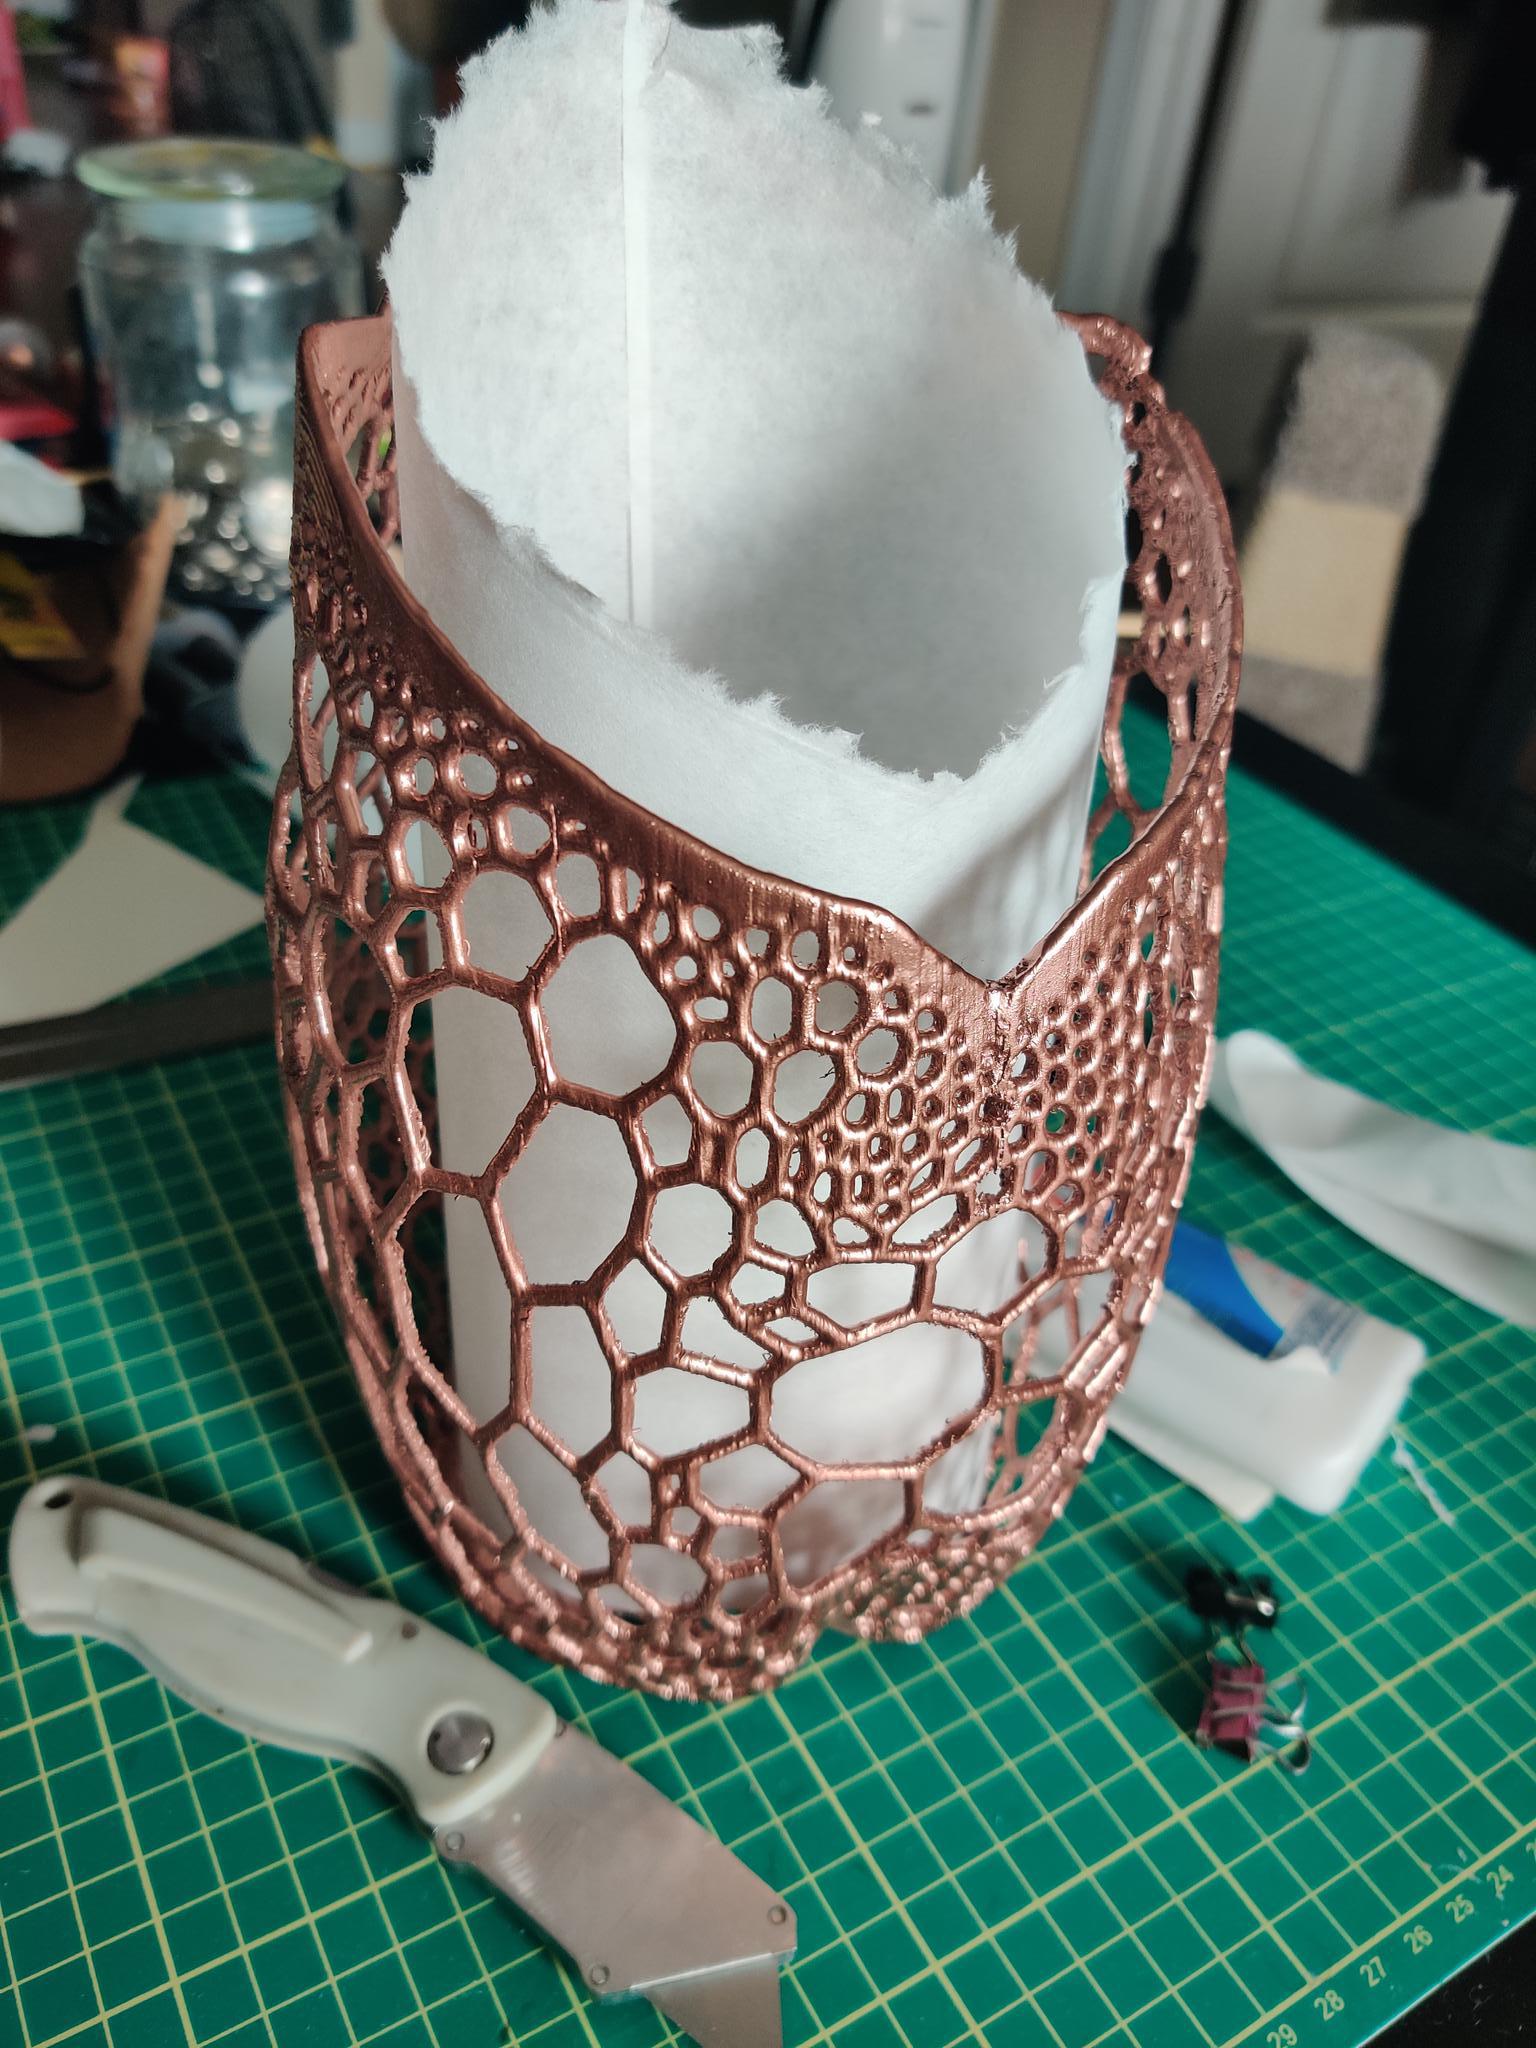
And to diffuse the bulb, cutting and shaping a cover from shoji paper and gluing it into place.
Post a comment